
%201.png?width=302&name=Netgate%20Logo%20PMS%20(horizontal)%201.png "NetgateColorLogoRegisteredRGB.png")
In network implementation, having the right tools to ensure efficient API management can save you time and money. TNSR is an affordable high-performance router that offers management through CLI and APIs, as well as a webUI. Postman can help you simplify and enhance your implementation of TNSR software through APIs. This blog post will walk you through the process of setting up Postman for TNSR using our pre-established API Collections and the Environment.
What is TNSR?
TNSR software combines extraordinary packet processing performance through Vector Packet Processing (VPP) with Data Plane Development Kit (DPDK), FRRouting (FRR), Clixon, and other open-source technologies to provide a turnkey high-performance router which enables businesses and service providers to address today’s edge and cloud networking needs at an affordable cost.
What is Postman?
Postman is a platform that allows developers to build, test, and collaborate on APIs. Postman simplifies each step of the API lifecycle, making the development and testing process of APIs more efficient by providing a comprehensive set of tools.
How to Setup Postman for TNSR Software
Step 1: Get TNSR Software Version 23.06
Download and install, or upgrade to TNSR software version 23.06 or later before beginning Postman setup. After installation or upgrade to a required TNSR version, configure Basic Authentication as shown below.
|
pki generate-restconf-certs length 4096 |
The configuration example above uses Basic Authentication. TNSR also has cert-based authentication which is more secure and can be set up in Postman. For more details please refer to this documentation.
Step 2: Set Up Postman
- Download and install the desktop app at Download Postman | Get Started for Free. Create a free Postman account after installing to use the app.
- Clone a repository and download TNSR collections.postman_collection.json and TNSR-enviroment.postman_environment.json files, which will be required for the Postman setup process. All further steps (3 - 10) are meant to be followed in the Postman app.
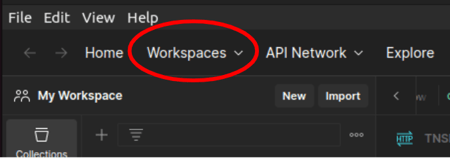
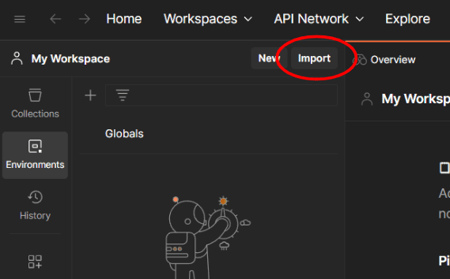
- Import TNSR collections.postman_collection.json and TNSR-enviroment.postman_environment.json to “My Workspace” in Postman. “My Workspace” can be accessed from Workspaces > My Workspace in the header.
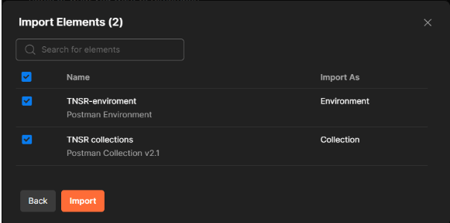
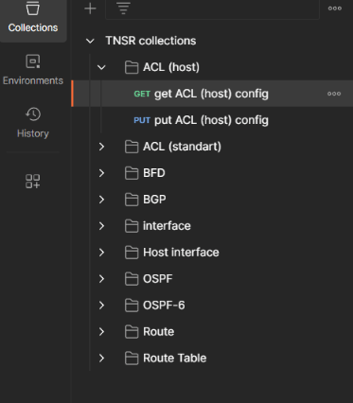
- As a result of importing the files in Step 3 (above), a list of collections and a TNSR-environment can be accessed using the Collections and Environments sidebar elements.
- A Postman environment provides a set of variables you can use in your (API) requests.
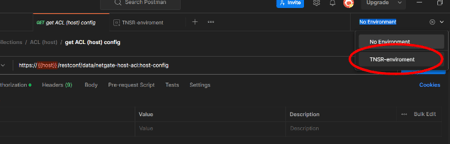
- Before sending the API requests to TNSR, change No Environment to TNSR-Environment to access and edit variables specific to the TNSR API. A Postman environment is a set of variables you can use in your Postman requests.
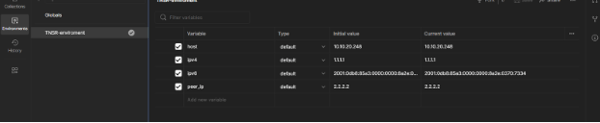
- Change the initial and current IP address of a to an IP address of the host management IP address of the TNSR installation by going to Environments sidebar element > TNSR-environment and changing the values in the entry fields.
 Variable descriptions and uses:
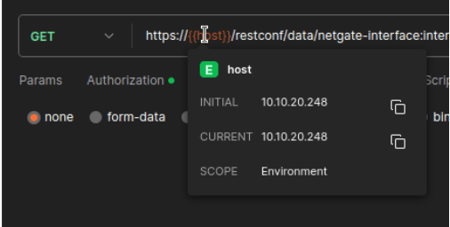
host - contains the IP address of the TNSR installation, used in the URL fields
ipv4 - contains the IPv4 address of the TNSR installation, used in the body of PUT requests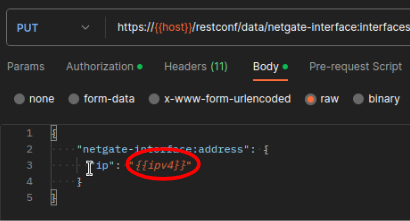 ipv6 - contains the IPv6 address of the TNSR installation, used in the body of PUT requests
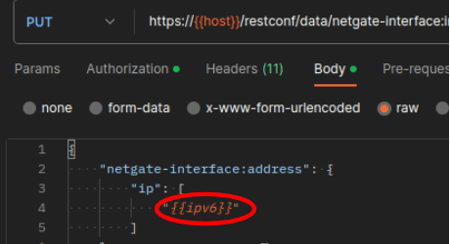 peer_ip - contains the IP address of the peer, used in the body of PUT requests
 - Make sure the local SSL certificate verification is turned off because the server certificate is self-signed.

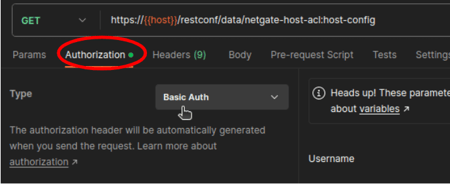
- Make sure you are using Basic Authentication by going to Collections > TNSR collections > choosing a request you are planning to send and clicking on authorization tab.
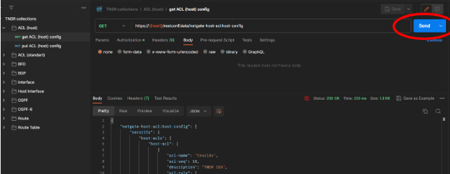
- To send a request press the send button.
 Examples:
GET request - simply press the Send button and receive the output body
PUT request - edit the input body and press the Send button to make a change
What's Next?
Learn more about how you can create your own API requests by visiting our TNSR API documentation.
You can also find out more about TNSR Software on our website or contact us to help determine if TNSR is the right fit for your high-speed routing needs, using your hardware, Netgate hardware, or the cloud.