Activating the Service Console for a USB Install
Remove power from the RCC Series unit after the installation has finished.
Remove the USB memstick that was used as the installation target and connect it to a Linux or Mac OS X host. Three partitions are on the USB memstick, but not all of them may be shown.
Open the second partition contains
boot.cfgamong many other files.Note
It may not be appear as a second partition, make sure to edit the boot.cfg on the partition with files pictured in screenshot below.
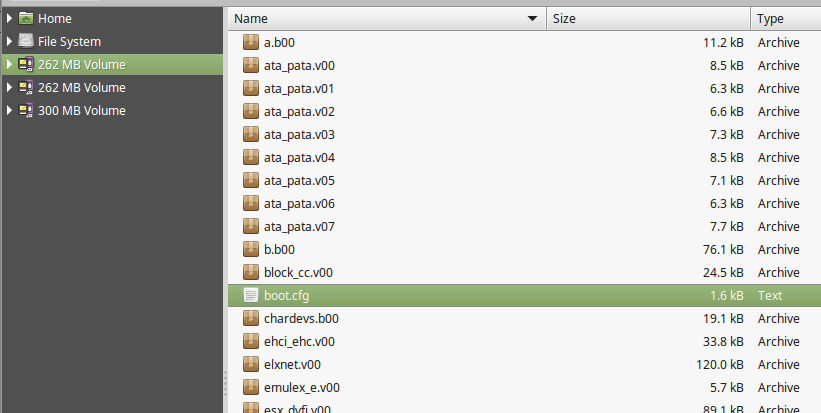
Open
boot.cfgin a text editor such as CotEditor, Kate, or similar and add the following to thekerneloptline:text nofb com2_baud=115200 com2_Port=0x2f8 tty2Port=com2 gdbPort=none logPort=none

Save the file and eject the USB memstick.
Connect the USB memstick to the RCC Series unit and plug in the power
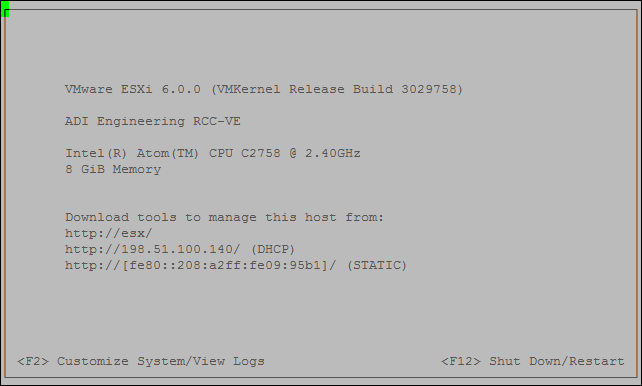
Wait for ESXi to boot and the console is ready for use.
ESXi is now fully installed. Login with the vSphere client to connect to ESXi.